Showing posts with label holiday. Show all posts

Thursday, February 21, 2013

A look back at our Valentine's Day

I managed to find the time to bake and mail out quite a few Valentine's sugar cookies (lemon & almond) just before Valentine's Day. I sent them out as DIY gifts to friends and family back home. I miss them all so much.

Here are a few photos of my beginner's endeavours.


I used the sugar cookie recipe from Sweetopia, as well as her Royal Icing recipe. The icing works like a charm, and although I did experience some spreading with the cookies, I'm fairly sure that it's due to the higher elevation where we live.

Saturday, September 8, 2012

Lemon-Almond Sugar Cookies


Lemon-Almond Sugar Cookies

*makes 4 dozen-1 tablespoon cookies


Ingredients:

2 cups granulated Sugar

Zest of two large Lemons

1 cup unsalted butter, room temperature (2 sticks)

2 large eggs, room temperature

1 tablespoon Almond extract

1 tablespoon Lemon extract

½ teaspoon sea salt

½ teaspoon Baking powder

½ teaspoon Baking soda

3 ¼ cups All-purpose Flour

½ cup powdered Sugar


Directions:

I adapted this from a Slow Roasted Italian recipe (I only changed a couple minor things), but found that the increase in lemon flavor was simply spectacular.


Preheat oven 350°F. Prepare baking sheets with parchment paper.  Set aside.


In the bowl of a stand mixer or an electric mixer combine sugar and lemon zest, until sugar is coated in lemon.


Add butter, cream until light and fluffy, approximately 2 minutes.  Add almond extract, lemon extract and eggs.  Mix until combined.  Scrape sides down as needed.  Add salt, powder, soda and flour.  Mix until combined.  Scrape sides of bowl as necessary.


Pour powdered sugar onto a large plate. Scoop 1 tablespoon portions of dough and roll into a ball.  Roll in powdered sugar until coated.  Place on baking sheet and repeat with remaining dough.  I made 12 per sheet, but you could easily fit 18.


I baked mine for 14 minutes, but the recommended time is only 9-11 minutes. We live in a higher altitude, so I attributed that to the longer cooking time. Make sure once you remove from the cookie sheet you allow to cool on a cookie rack, then sprinkle with more powdered sugar.


Sunday, December 25, 2011

Merry Christmas everybody!

Christmas is finally here. Couldn't sleep last night...just like a little kid. Couldn't wait to get up & open gifts, and get this day started.

Will be getting started on my Christmas meal soon....
Rack of Lamb
Chicken & Goat Cheese Quiche
Triple Potato Mash......

Tonight we will be heading over to a friends home to spend the evening with them.

Off to Dallas in two days to see the fam. & I can't wait!

The tree looks beautiful this morning, before the massive disaster of wrapping paper ensues.


The dog helped me set everything up. No, that's a complete lie. He chased the rolls of ribbon around. He tore wrapping paper, and barked at the tree. Then I put him in doggie jail (kennel) & the world was right again!


No snow here. It feels kind of strange. Less Christmaslike (if that's a word).


All set to open gifts. Now off to make some coffee...with Baileys (heeeeyyyy, it's Christmas) & just for your information-holidays don't count.

Thursday, December 22, 2011

White Chocolate-Macadamia Nut Cookies


White Chocolate-Macadamia Nut Cookies


Ingredients

·    3/4 cup butter-at room temperature

·    3/4 cup white sugar

·    3/4 cup brown sugar

·    2 eggs

·    2 teaspoons pure Vanilla

·    2 tablespoons dark Rum

·    2 1/4 cups all-purpose flour

·    1 teaspoon baking soda

·    1 teaspoon Salt

·    1 cup Macadamia nuts

·    2 cups white Chocolate or good quality Vanilla baking chips

Directions

In a large bowl cream together the butter and sugars. Beat in the eggs, rum and vanilla.


In a separate bowl, combine the flour, salt and baking soda. Gradually add the dry ingredients to the wet ingredients and mix well.


Lastly add in the macadamia nuts and white chocolate chips. Chill dough in freezer for about 15-20 minutes. Using a tablespoon measure out a large rounded size spoonful, and place onto a greased baking sheet.


Bake at 375°F for 8 minutes. Cook on pan for 1 minute, then transfer to a wire rack to cool completely.


Thursday, December 8, 2011

Bag-O-Cookies

I made the previous recipe - Cranberry-White Chocolate cookies for my hubby's office. I used three types of ribbon,and candy canes, tied around clear confection bags to store the cookies.


Sunday, November 27, 2011

Creamy Pumpkin Cheesecake


Creamy Pumpkin Cheesecake


**Adapted from a By Sprinkle Bakes recipe 

Ginger-Pecan Crust:

1 cup all purpose flour

1/4 cup firmly packed light brown sugar

1/8 tsp salt

1/3 cup pecans (1.2 oz.)

1/4 tsp ground ginger

1/2 cup cold butter

1 tablespoon cold water


1. Preheat oven to 350 degrees. Grease a 9-inch springform pan. Wrap the outside of the pan in an 18 inch square of heavy duty aluminum.  

2. Place flour, sugar, salt, pecans and ginger in the bowl of a food processor. Process until the pecans are finely ground. Add cold butter and process until crumbs form. Add water and process in bursts until the dough starts to come together in clumps. Press dough evenly into the bottom of the prepared pan.

3. Bake for 25-30 minutes. Cool completely. Reduce oven temperature to 325 degrees.

Pumpkin Cheesecake Filling:

1 cup pumpkin puree (canned is fine)

1/2 cup heavy cream

2 teaspoons Rum

1 tsp ground cinnamon

1 tsp ground ginger

1/4 tsp salt

1 1/4 lbs (20 oz, or 2 1/2 eight oz. bricks) cream cheese, softened

1/2 cup granulated sugar

1/2 cup brown sugar, packed

2 tbsp cornstarch

4 large eggs


1. In a medium bowl whisk together pumpkin puree, heavy cream, vanilla extract, cinnamon , ginger and salt. Set aside.

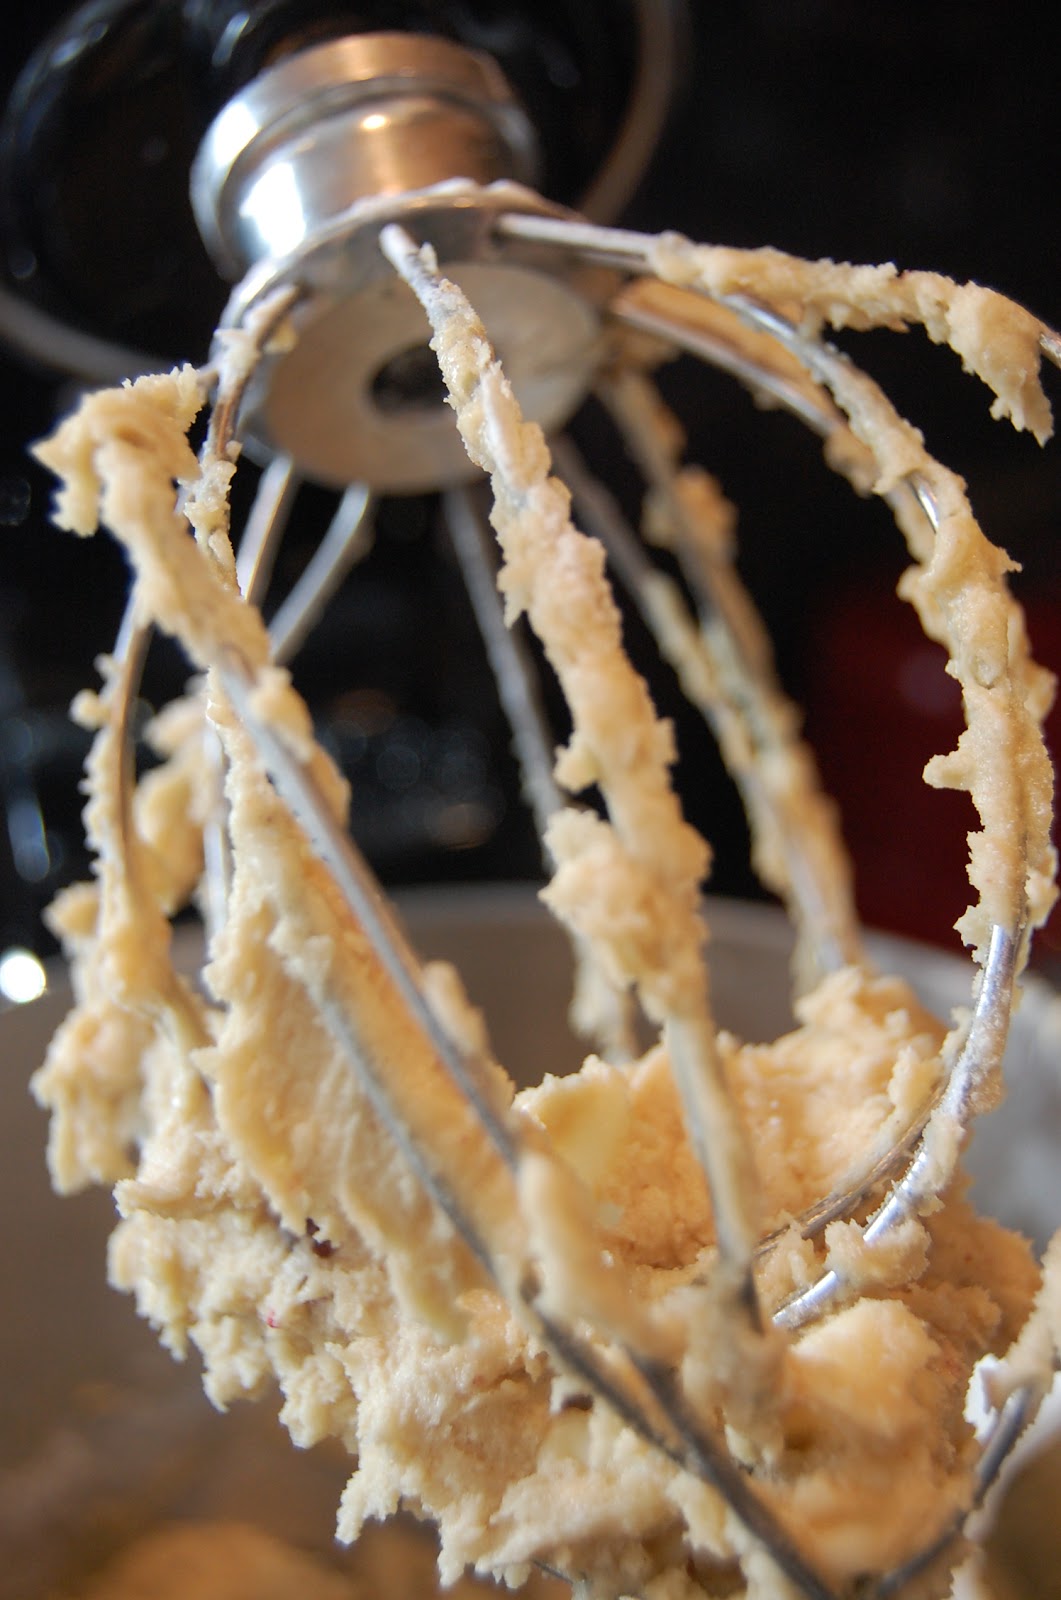
2. In a standing mixer with the paddle attachment, beat the cream cheese at medium-low until creamy (approx. 2 mins). Gradually add sugars and beat until blended. Add pumpkin mixture and beat until blended. Add cornstarch and beat until just combined. Add eggs one at a time, mixing well after each addition. Scrape down bowl as necessary.

3. Use a rubber spatula to scrape the batter onto the cooled crust. Place the aluminum-wrapped pan in a roasting pan or large baking pan. Pour enough hot water into the pan to come up 1 inch up the sides of the springform pan. Bake 70-80 minutes, or until set and slightly wobbly. The cake will completely set as it cools.


Whipped Cream Topping

2 cups heavy cream

1/2 cup granulated sugar

1. In a standing mixer with the whisk attachment, beat heavy cream until it begins to thicken slightly. Add in granulated sugar a little at a time.


2. Beat until stiff peaks form. Use to top cheesecake, or pipe in decorative swirls. You may also serve this on the side.