
The candy melts into the cupcakes, and with the chocolate & butter flavor, you just can't go wrong!

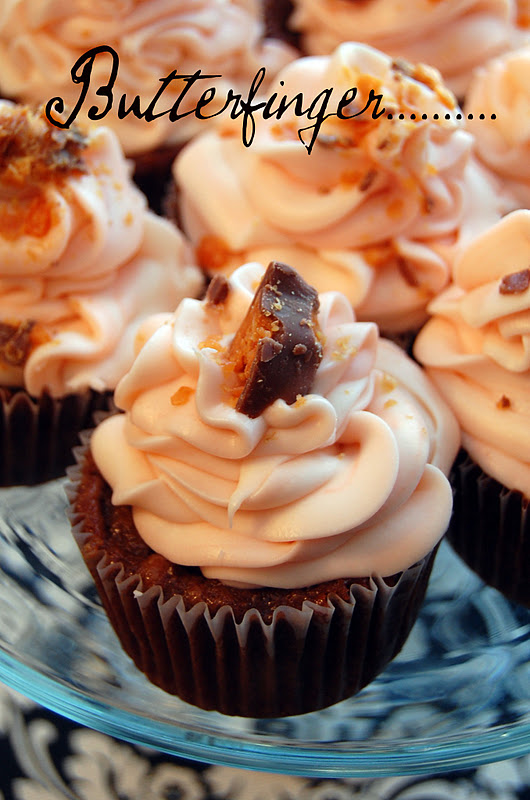
Chocolate-Butterfinger Cupcakes
For the cupcakes:
2 & 1/4 cups All-purpose flour
1/2 cup high quality Cocoa powder
2 teaspoons baking Soda
2 teaspoons baking Powder
1 teaspoon kosher Salt
1 cup Buttermilk, shaken
2 sticks Butter-softened to room temperature
1 & ½ cups granulated Sugar
2 tablespoons Butter flavoring
2 large Eggs, at room temperature
2 teaspoons pure Vanilla extract
1 cup chopped Butterfinger candy (plus more for decoration)
For the Frosting:
2 sticks butter, softened to room temperature
8 ounces softened cream cheese
1 pounds confectioners’ sugar, sifted
1 teaspoon pure Vanilla extract
1 tablespoon whole cream-adjust upward to obtain the desired consistency

Directions: For the cupcakes
Preheat the oven to 350 degrees F. Line standard muffin tins with paper liners; set aside.
Sift the flour, cocoa, baking soda, baking powder, and salt into a medium sized bowl, and then set aside. In the bowl of an electric mixer fitted with a paddle attachment, combine the sugar and butter. Once well combined, add vanilla. Slowly add the buttermilk, eggs, and butter extract, mixing on low speed until combined.
With the mixer on low speed, slowly add the wet ingredients to the dry. With mixer still on low, fold in the butterfingers, and stir just to combine, scraping the bottom of the bowl with a rubber spatula.
3. Using a large scoop, distribute the batter between 24 muffin wells, filling each well 2/3 full. Bake for 18 to 22 minutes, or until a cake tester comes out clean. Cool in the pans for 10 minutes, then remove to a cooling rack and cool completely.
4. Finish by frosting with vanilla frosting.
For the Icing
In a large mixer, combine the sticks of butter, vanilla, cream cheese, and confectioners sugar gradually. Slowly add cream until you reach the desired consistency.


